Four Node Bare Metal Kubernetes Raspberry Pi Cluster for about $450

I have been thinking of making a homelab for years, but living in a 700 sqft condo I don’t have the room for the basement rack of my dreams. A few months ago with the launch of the Raspberry Pi Model 4 B with 4GB of ram I started looking into building a cluster of them for tooling around at home. I found the Pi Dramble which give me the push to build it out for testing Kubernetes and eventually ESXi on ARM. The PoE HAT makes it cost a bit more, but makes it look nice and clean with one power plug needed.
Parts
4x Raspberry Pi 4 Model B/4GB - $55x4 = $220
4x Raspberry Pi PoE HAT - $21x4 = $84
4x Samsung 32GB EVO Plus Class 10 Micro SDHC - $13x4 = $52
1x Raspberry Pi 4 Heatsink Pack - $8
1x NETGEAR 5-Port Gigabit Ethernet PoE Switch - $45
1x Acrylic Dog Bone Stacking Case - $19
1x 10 Pack of 6” Cat6 - $14
~$10 Shipping
Total Price as of 2020-02-27: $442
Building
Open all the presents up, affix the heatsinks to the Pi, screw spacers onto the Pi with the PoE HAT, peel the paper backing off the acrylic case, and build the stack. Easy as PI 😂
Flashing SD Cards
For the OS on I went with Raspbian Buster Lite, no need for a GUI when I’m driving everything from my other computers and it means more headroom for workloads.
Balena Etcher is awesome for flashing SD cards with an image from ZIP or ISO, highly recommended. It takes about 3 min per card with the super speed cards above.
Be sure to enable SSH on the images by creating an empty file in the boot directory, on Windows by making a empty text file in the boot directory and naming it ssh with no extension or from a Linux variant by:
$ touch /Volumes/boot/ssh
Grab your favorite homelabing drink and repeat for the rest of the SD cards.
Configuring OS
Slot in the SD cards, attach network cables, and power up the switch. After a minute or so the Pis should be powered up. Find the IPs however you like, looking on your router, nmap, or your IP scanner of choice. Once you find them you should be able to SSH into the Raspberry Pis as follows:
$ ssh pi@[IP Address]
Default password for Raspbian is: raspberry
Once connected to a Pi start by giving yourself a static IP:
$ sudo nano -w /etc/dhcpcd.conf
Find the interface eth0 area and edit in your static IP config for me on my raspberrypi-1 node that is:
static ip_address=10.10.10.51/24
static routers=10.10.10.254
static domain_name_servers=10.10.10.254
Next, run the Raspberry Pi setup tool. Change the login password from 1, Set your hostname from 2, localization from 4, and overclock if you are feeling like it.
$ sudo raspi-config
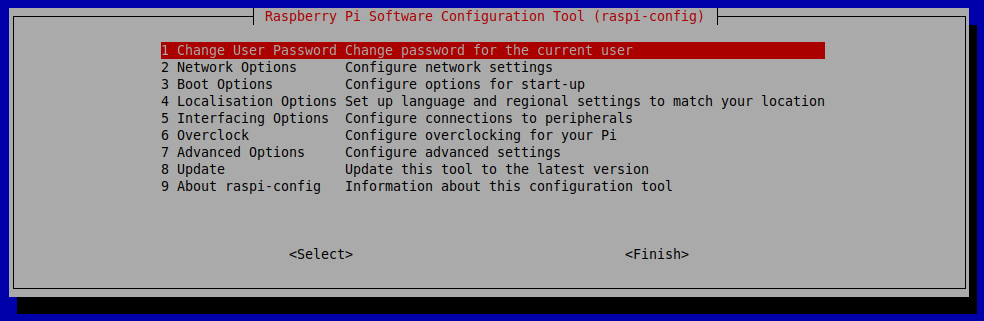
Once you select Finish the Pi will reboot and have your config ready to go.
Installing the prerequisites
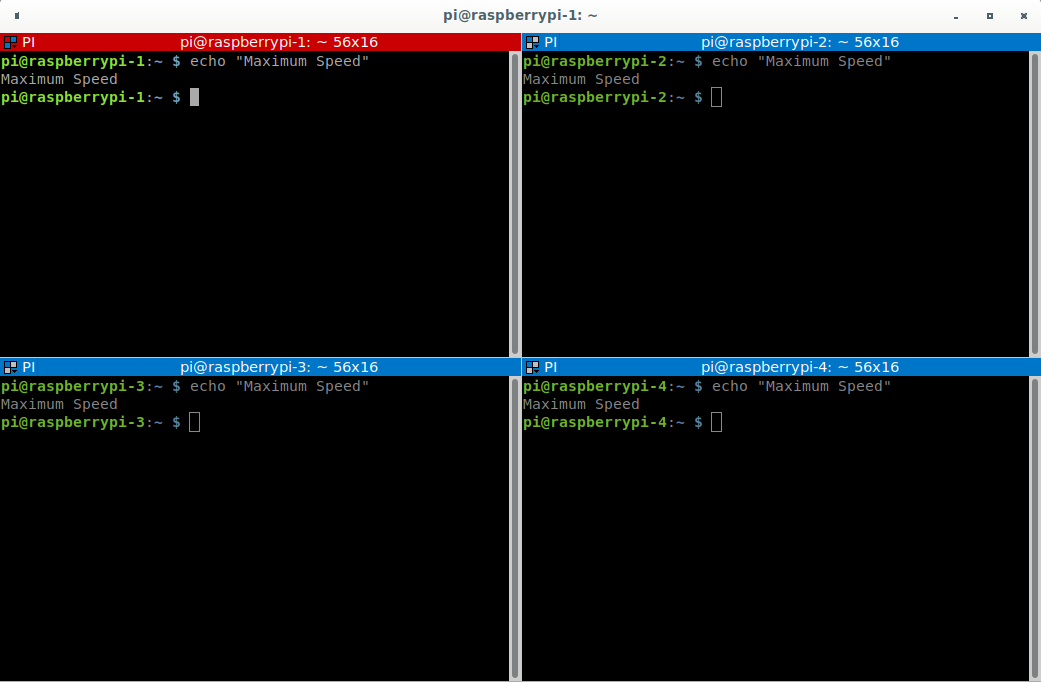
From this point there is some replicated setup to do on all of the nodes. The easiest way is to do this is use something like Terminator to broadcast to a group.
One of the first things you need is to install a Container Runtime. I’m using Docker.
$ curl -sSL get.docker.com | sh && sudo usermod pi -aG docker
Then disable swap. Why? See the Github Issue
$ sudo dphys-swapfile swapoff && sudo dphys-swapfile uninstall && sudo update-rc.d dphys-swapfile remove
Next, add cgroup settings to the boot line, this allows resource limiting and allocation.
$ sudo cp /boot/cmdline.txt /boot/cmdline_backup.txt
$ orig="$(head -n1 /boot/cmdline.txt) cgroup_enable=cpuset cgroup_enable=memory"
$ echo $orig | sudo tee /boot/cmdline.txt
And finally for this part, add the Kubernetes repo, update, and install kubeadm which will pull all the packages.
$ curl -s https://packages.cloud.google.com/apt/doc/apt-key.gpg | sudo apt-key add -
$ echo "deb http://apt.kubernetes.io/ kubernetes-xenial main" | sudo tee /etc/apt/sources.list.d/kubernetes.list
$ sudo apt-get update -q && sudo apt-get install -qy kubeadm
After this, reboot and we’ll start initializing Kubernetes.
$ sudo reboot
Initialize the Kubernetes master
It’s time to setup Kubernetes. First on the list is to spin up the cluster with kubeadm. Because this is a testing cluster and I like to chaos monkey pull cables to see failover states quickly I’m going to make a fast failover config for the bringup.
$ nano kubeadm_conf.yaml
And copy the following config into the file. This will set the pod-eviction-timeout to 10s instead of 5min and node-monitor-grace-period to 10s instead of 40s.
apiVersion: kubeadm.k8s.io/v1beta2
kind: MasterConfiguration
controllerManagerExtraArgs:
  pod-eviction-timeout: 10s
  node-monitor-grace-period: 10s
Save and run:
$ sudo kubeadm init --config kubeadm_conf.yaml
After a few minutes you’ll see something like the following:
...

Your Kubernetes master has initialized successfully!

To start using your cluster, you need to run the following as a regular user:

mkdir -p $HOME/.kube
  sudo cp -i /etc/kubernetes/admin.conf $HOME/.kube/config
  sudo chown $(id -u):$(id -g) $HOME/.kube/config

You should now deploy a pod network to the cluster.
Run "kubectl apply -f [podnetwork].yaml" with one of the options listed at:
  https://kubernetes.io/docs/concepts/cluster-administration/addons/

You can now join any number of machines by running the following on each node as root:

kubeadm join --token TOKEN 10.10.10.51:6443 --discovery-token-ca-cert-hash HASH
Follow the instructions to setup your user folders:
$ mkdir -p $HOME/.kube
$ sudo cp -i /etc/kubernetes/admin.conf $HOME/.kube/config
$ sudo chown $(id -u):$(id -g) $HOME/.kube/config
Verify that your node is up and running
$ kubectl get nodes
NAME             STATUS     ROLES     AGE       VERSION
raspberrypi-1    NotReady   master    5m        v1.17.3
NotReady is fine for now, it won’t show as ready until we install a container network.
Setting up the Worker Nodes
Assuming you did the pre-reqs above on the worker nodes, spinning them up is one line taken from when the master was initialized:
$ sudo kubeadm join --token TOKEN 10.10.10.51:6443 --discovery-token-ca-cert-hash HASH
Repeat for each node and they are good to go.
Setup your Container Network
A container network is needed for the nodes to communicate with each other. There are a bunch of solutions out there, such as NSX-T. weave-net is the one I’ve seen most recommended for easy setups. Run the following on the master node to install it.
$ kubectl apply -f “https://cloud.weave.works/k8s/net?k8s-version=$(kubectl version | base64 | tr -d ‘\n’)
With this done, your cluster should be up and running. Verify by getting your nodes again:
$ kubectl get nodes
NAME             STATUS     ROLES     AGE       VERSION
raspberrypi-1    Ready      master    15m        v1.17.3
raspberrypi-2    Ready      <none>    13m        v1.17.3
raspberrypi-3    Ready      <none>    11m        v1.17.3
raspberrypi-4    Ready      <none>    9m         v1.17.3
Now you are ready to go! Find some projects to do on Kubernetes, an autoscaling 3 tier app with a loadbalancer for instance.
Future Plans
- Add a USB 3 NVME drive to the master node to provide Persistant Volume storage from a NFS Share
- Get more USB 3 drives and test Gluster
- Setup MetalLB
- Get another set of SD Cards for ESXi on ARM
- Maybe get a computer capable of nested VCF, install nested VCF on it, add in Pis as a NFS backed WLD